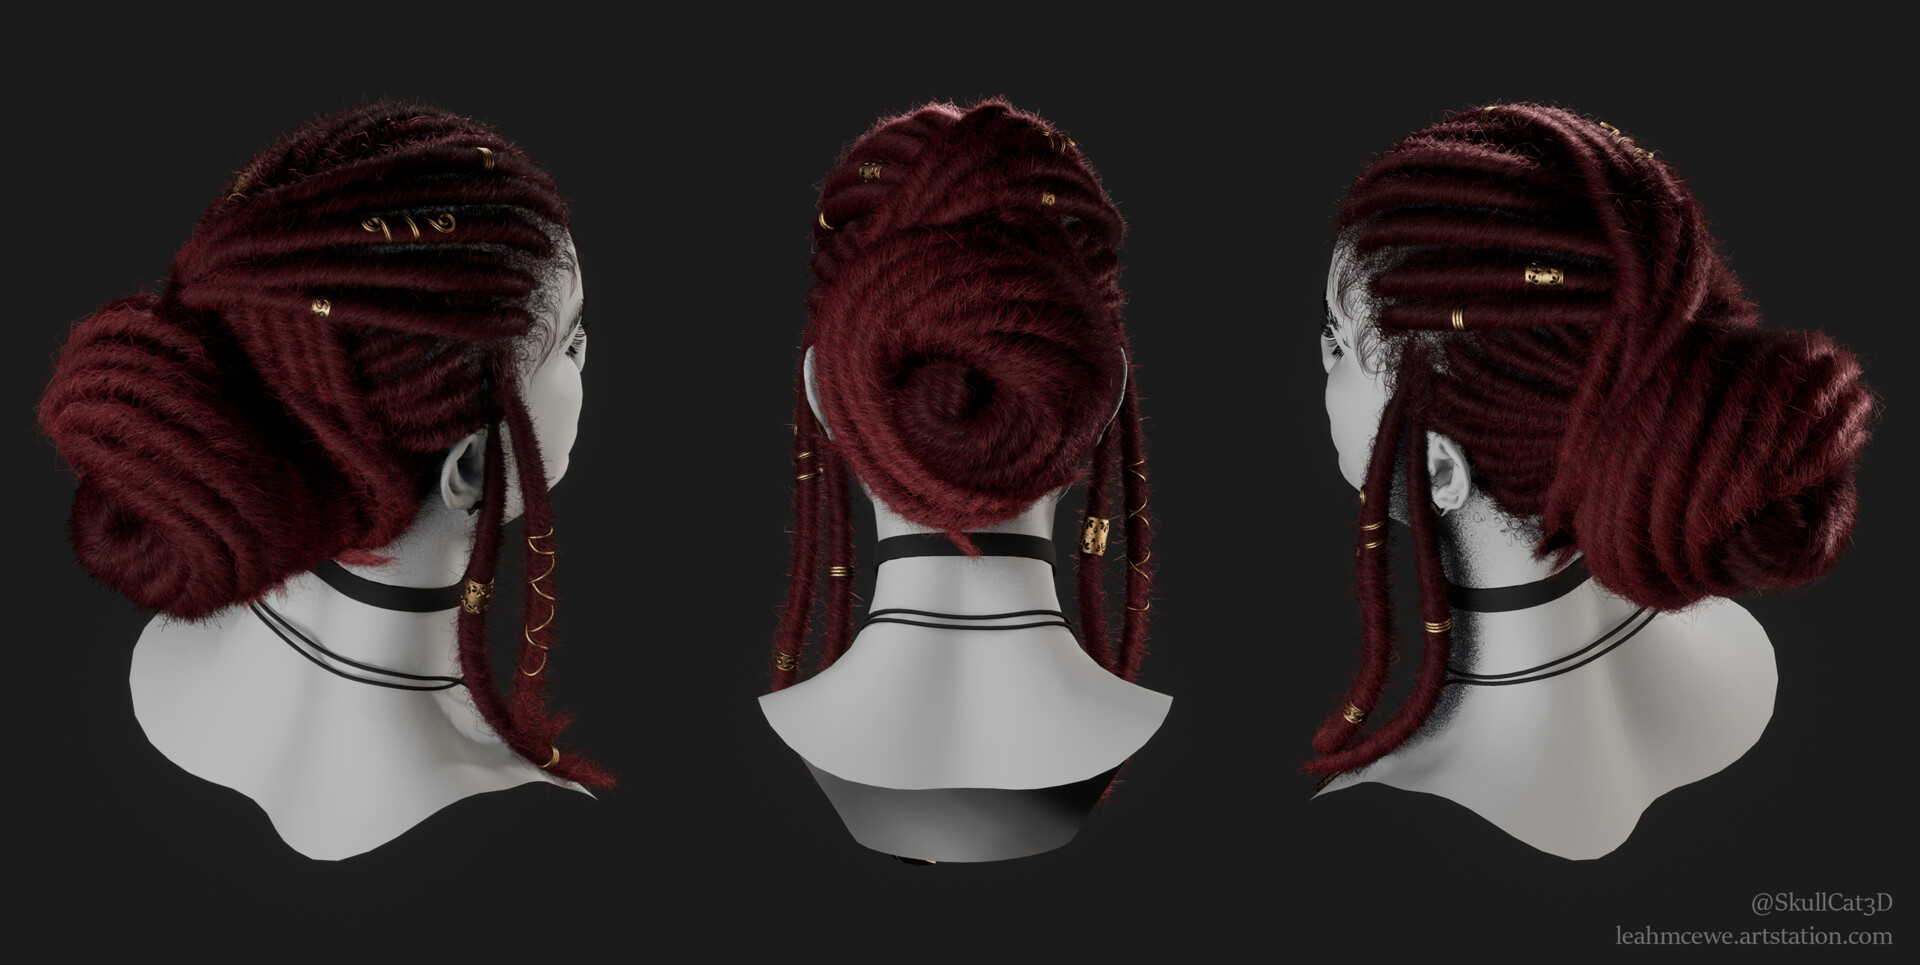
Been meaning to add a little update to this. From Unreal Engine 5.6, Epic introduced the Maya to Metahuman plugin which has a Groom Exporter. This exporter allows you to export directly from XGen Core, tag each descriptions with a group ID, set Root UVs based on what mesh you choose, and choose whether guides are included or not. It will pull the guides from the actual description as the guide curves to use in engine (including CV count). You can also set the up axis which means you don't have to fiddle with transforms on import to engine. This is so much faster than having to do all this manually and has saved me a TON of time in the last year.
I'll leave this full blog here just in case anyone wants to do things manually or has an xgen interactive project they want to export.

In my most recent personal work, I wanted to try and breakdown how to get a created strand hairstyle from XGen Core to Unreal Engine 5. I also wanted to see how easily I could setup physics simulations with these strands and what issues I would run into whilst doing this.
I know that Epic’s documentation is a little sparse, so I want to thank Andrew Giovannini for his amazing YouTube tutorial on exporting and importing from XGen to UE5 and I want to thank Matthew Aitchison for answering every random question I had no matter the time of day!
Exporting
This hairstyle was created in XGen Core, so we need to convert to XGen Interactive to be able to use in Unreal.
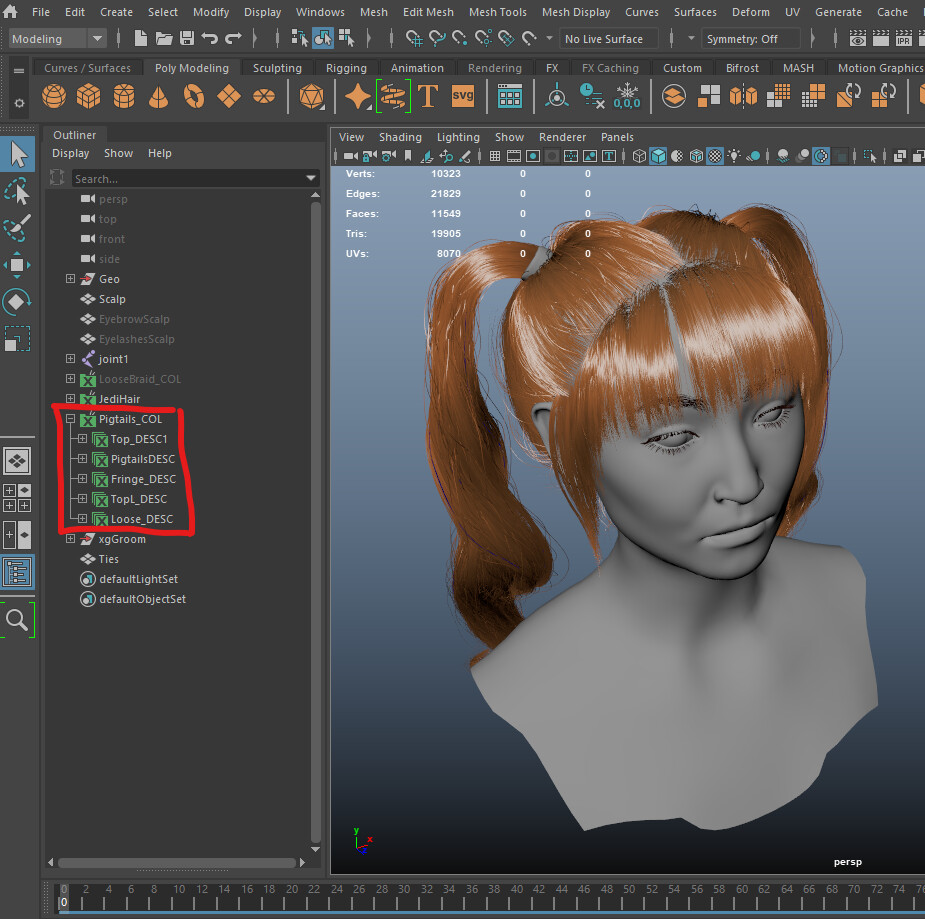

When converting, you may notice that the hair looks extra frizzy and jagged. This is especially noticeable on really curly/coily hair. To help resolve this, we can rebuild the strands in Interactive:
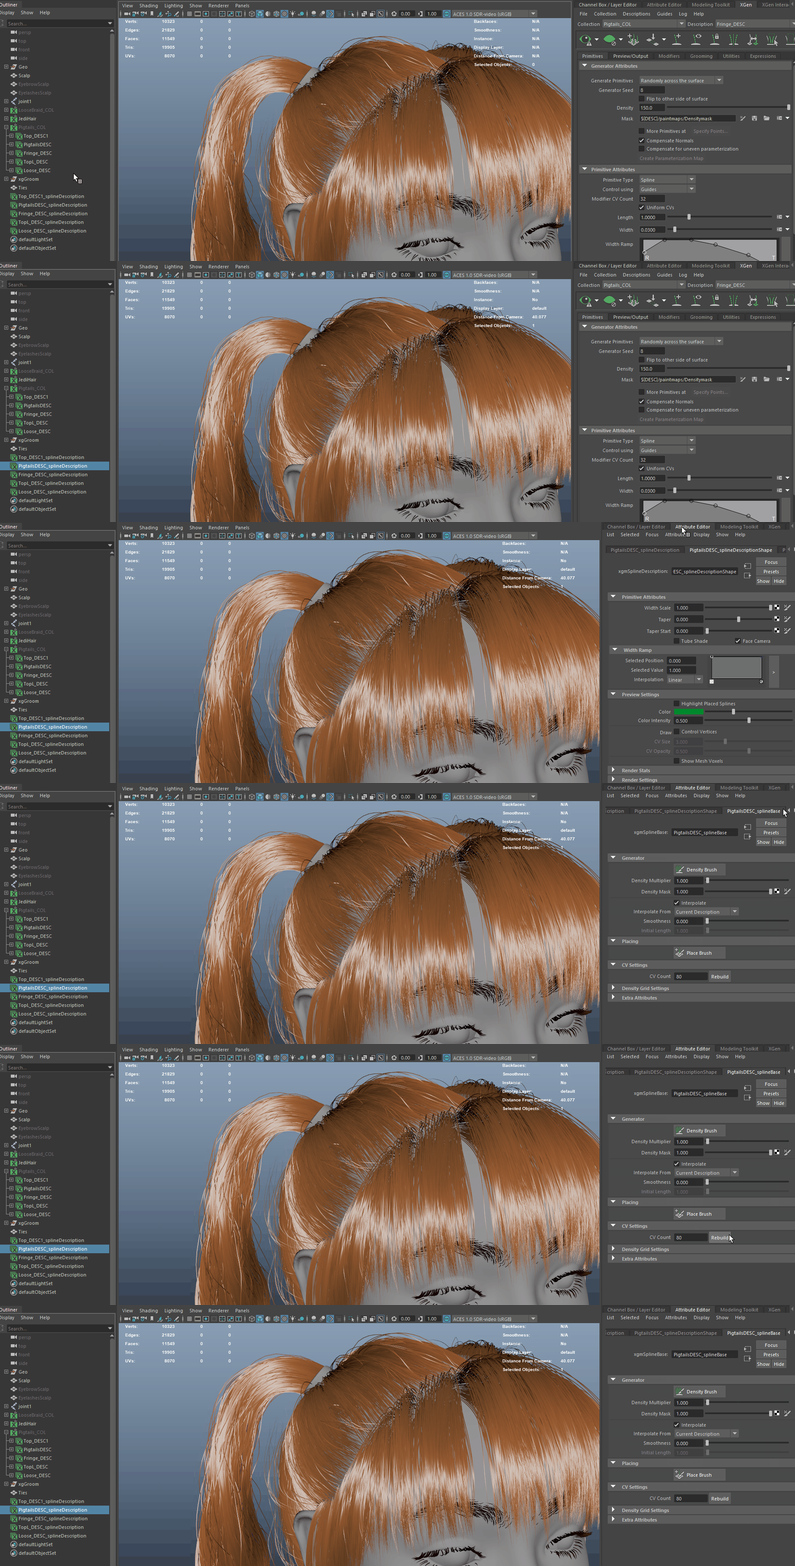
We can export these converted descriptions directly as an alembic that Unreal can read, however, these strands won’t have any attributes applied or be broken into different group IDs.
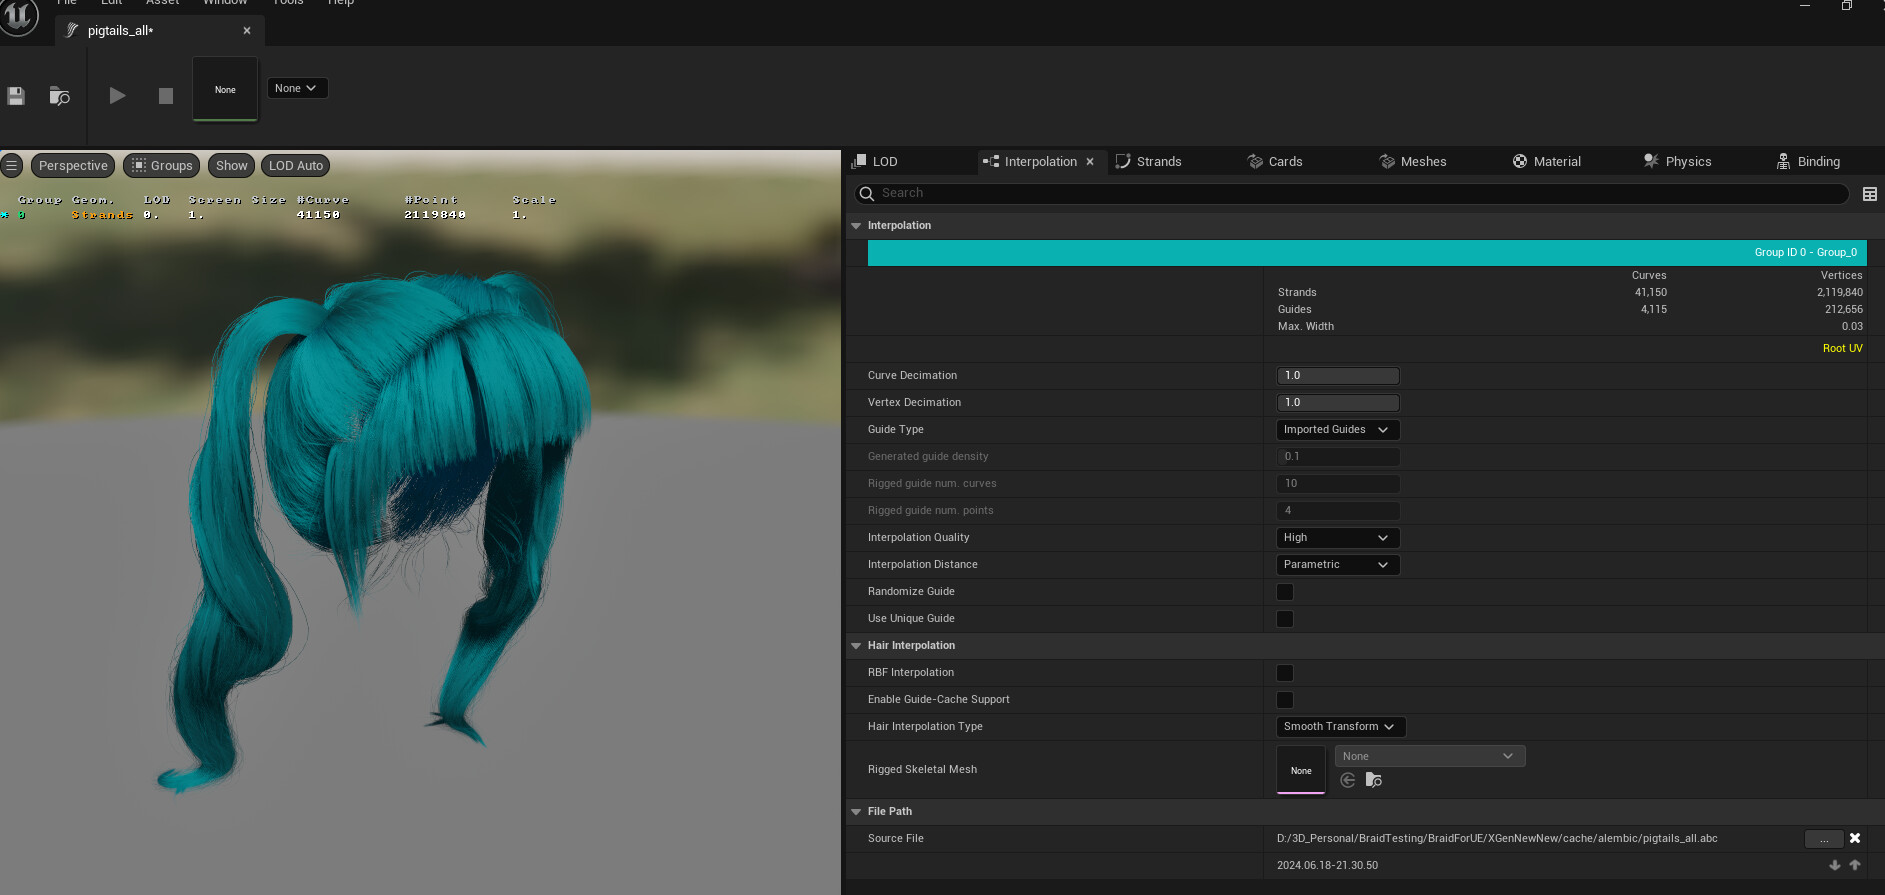
This groom is just 1 group with no RootUV attribute and no custom guides.
We can apply the attributes that Unreal can read from code snippets on Epic’s documentation.
Note that this code is for Python2 and won’t work on Maya 2022 and up without edits.
Andrew Giovannini has a great video going through how to apply these attributes to your own grooms.
To apply the 3 attributes from Epic’s documentation, you will need a “scalp” mesh with UVs, an xgGroom group with your guides and your imported xgen interactive groom. I generally rename these curve groups to something easier to work with.
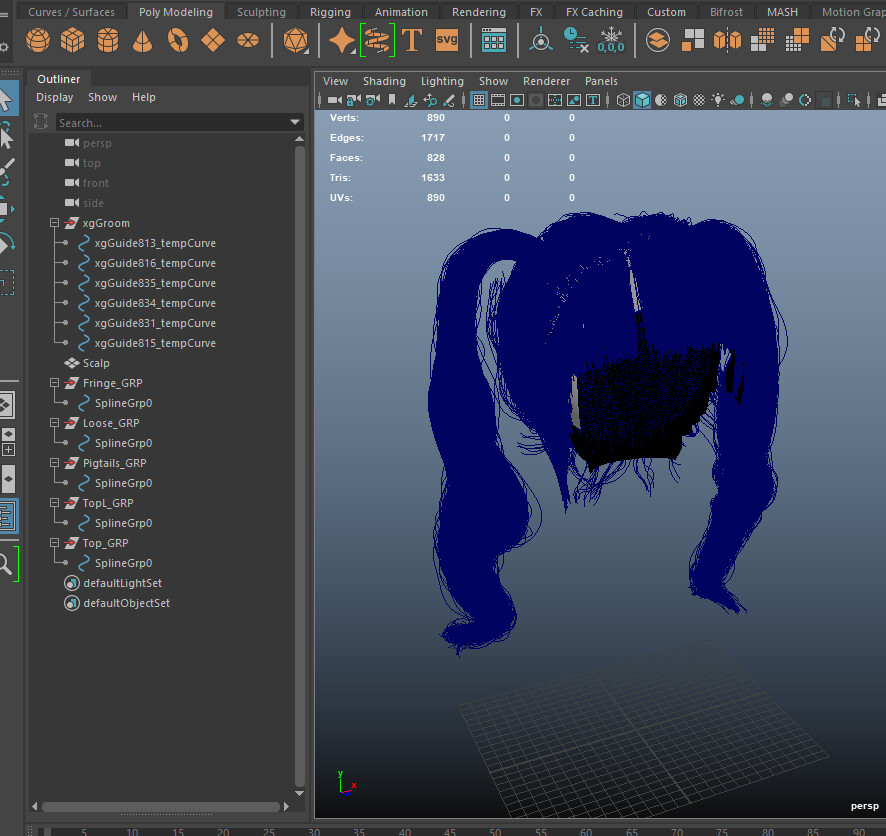

The 3 attributes that Unreal needs are groom_guides, groom_root_uv and groom_guide_id – and I apply them in that order.
The guides are what the engine will simulate and then apply to the surrounding strands based on their range to the nearest guide. I only really need guides for the pigtails as the fringe can be simulated with the generated guides in engine.
Groom Root UV takes the UVs of your scalp/head mesh (or any mesh for that matter) and projects that onto the roots of the strands. This means that you can use textures that line up with the scalp UVs for things like highlighted sections or colour changes.
Groom Guide ID allows you to group chunks of your hairstyle into different IDs. These IDs can then have different simulation settings or different materials applied to them.
Note, I have 3 descriptions that cover the “Top” portion of the hair and I only want them to export as 1 group ID. I had issues exporting these as 1 ID whilst retaining the RootUV attribute.
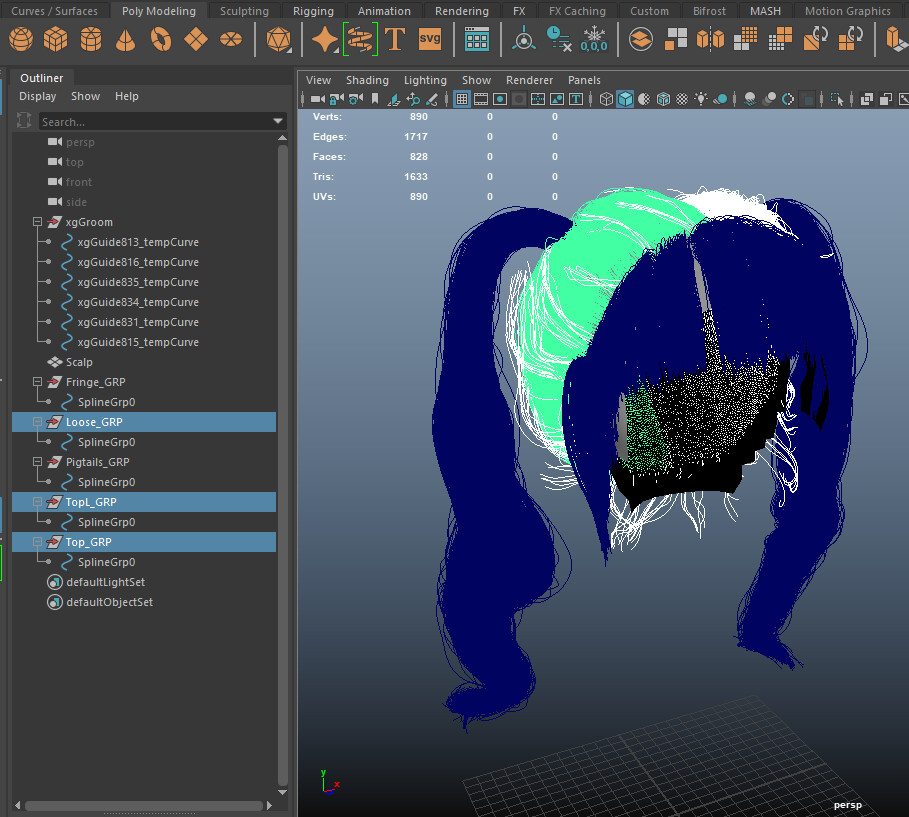
My workaround for this (with help from Andrew Giovannini) was to manually apply the groom_group_id attribute to those 3 chunks as defaultvalue = 2 (This means it will be imported as the third group in the groom asset). Then apply the original groom_group_id script to the Pigtails and the Fringe as group_ids (0 and 1).
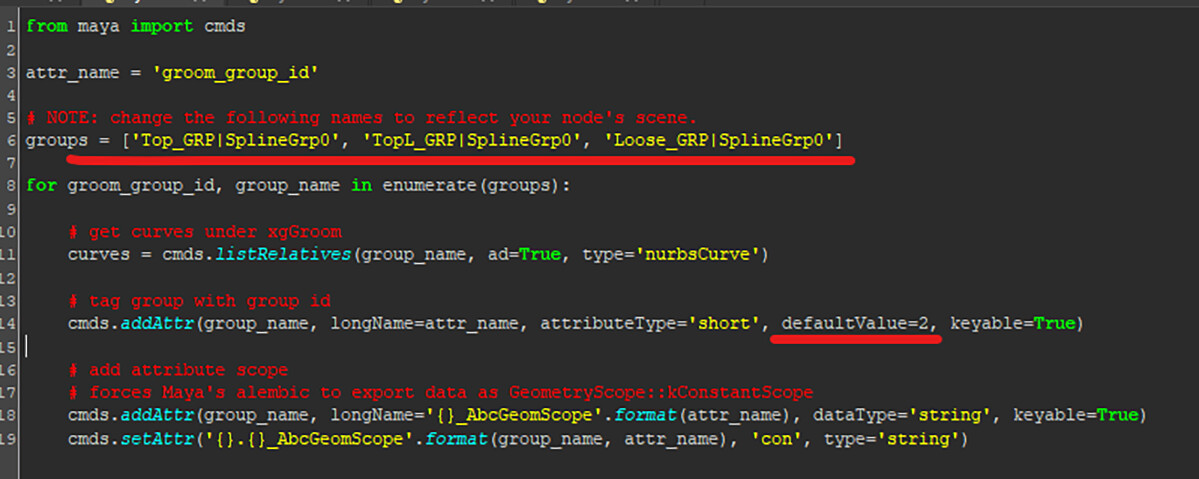

Note, I needed to apply the RootUV attribute to these curves BEFORE I applied the group_id attribute.

I didn’t re-parent any of the curves, as that caused issues with my RootUV attribute, but just made sure to group_id them correctly.
Once these attributes have been applied, you can export the curves and the guides as an alembic (.abc). You don’t need to export the scalp.
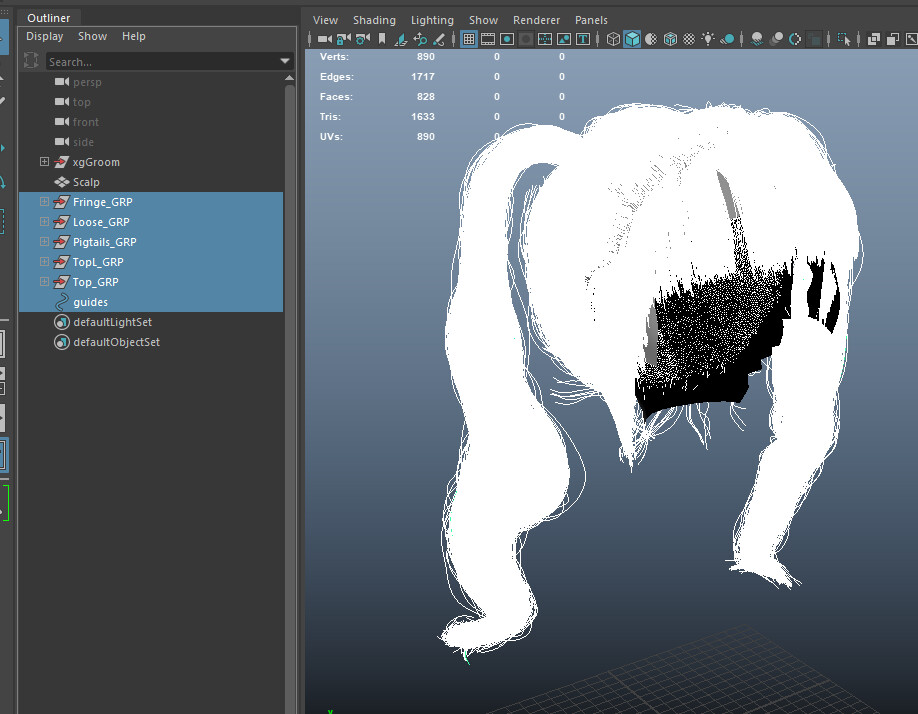
Note, remember to add the attributes to the export settings!

Importing
When you import the alembic into Unreal, it should come up with the import options. We want to check that the Status is Valid and that Unreal has been able to read the attributes and they are Valid and include the RootUV. We should also be able to see the groups from the groom_group_id attribute and one of these groups should have imported guides – this should be Group_0 so that we can use the imported guides for simulation.

Note, you’ll have to edit the transform settings to match these:

We can then open the groom asset to check that the groups are in the right order. Using the groom debug view, we can see the groups organised by colour.


And that the guides have correctly imported.
Note, to check “imported guides” versus “generated ones”, we need to switch on Enable Simulation.

Note, by default, the guides will ONLY work on group 0. If you want guides on other groups, you need to tag them as such in the attributes.
We can also see if the RootUV has worked by viewing it in the debug mode.

We can see that the rootUV looks smooth across the hair. If it hadn’t been applied properly, there would be areas that had no data (grey) or flat colour data.
Simulation
Simulating strands is just a toggle per each group ID, this means you can switch off simulation for parts of the hair you don’t need to move – like the top portion here.
Simulation is driven by guides. Strands are simulated based on the nearest guide. Guides are automatically generated based on a percentage of the actual groom but you can set it to use the imported guides (if you created them).

I recommend trying different values and seeing what they do to the strands.
Using the Groom
If you want to just render a static image, you can just parent the groom under a static mesh and reset the transforms. But, if you want the hair to move with a skeletal mesh, we need to set it up to work with the mesh.
First, we create a binding asset that will bind your selected groom to a specified skeletal mesh. Right click the groom asset and select Create Binding Asset. Then select the skeletal mesh you want to bind the groom to.


Then, with the skeletal mesh in your scene, from the details panel we can add a Groom Component.

With the groom component, all we have to do is plug the groom asset and binding asset into the corresponding slots.

The groom will now follow the skeletal mesh and any animations it uses.

Methuman Material
Epic have created a hair strand shader that works really well for most grooms and it’s available through the Epic Marketplace.

Just search for Metahumans and download the Metahumans project that has the 2 metahuman examples. You don’t need the plugin or any additional setup, just the example assets.

Create a project using this asset pack and open it up.

From here, we can access the shaders that are being used. For groom, we need the Parent material for the material instance being used for the hair strands. This material should be called M_hair_v4

Then we can just migrate this parent material and its dependencies to our own project.

Note, when you migrate, we need to make sure we send the material to the root “Content” folder.

Using the Material
As far as I understand it, Epic’s Metahuman shader makes use of additional attributes outside of the 3 that they share on their documentation. This means that when importing custom grooms things like the highlight, ombre and texture won’t work. To get around this, I built a custom shader that uses the majority of the Metahuman’s shader whilst adding my own highlight, root, tip and texture values.
By default, the groom asset has 0 material slots which means that when you apply a material in the editor, it will apply to everything.

Adding material slots means we can assign materials to different groups of the groom asset. To add a slot, we just click the + icon in the Materials section of the groom asset.

This groom asset has 3 groups and I want to have 3 material slots, one for each group. This gives me a lot of control over how the final hair will look. It’s also worth renaming the material slots for future use.

Now we can assign these material slots to the different groups of the groom in the Strands tab.

With these materials assigned, we can now create different materials and apply these to the different material slots for lots of customisation.

Things to Note
- Guides automatically only apply to Group 0 - to have different guides on different groups, you need to tag the guides with the group number in the attributes.
- Epic’s Metahuman hair shader has access to attributes that they haven’t shared on their documentation and so some values won’t work on custom grooms.
- As far as I’m aware, you can’t attach objects to the strands (like a hair tie) I’m sure there will be a workaround that someone will share in the near future.
I learnt a lot working on this breakdown but I still have a lot more to learn! And because Epic's documentation feels a little incomplete, I've probably missed things or used weird workarounds to get past them. Also feel free to drop a comment on message me on Twitter if you have a question or I didn't explain something well.